# Install Xilinx Vivado
# 1.Install Vivado
# 1.1 Download
Our Vivado version is now 2017.4.
Blow shows the installation method of 2016.4, it is same to 2017.4 version. (Download here:https://www.xilinx.com/support/download.html (opens new window))
Get Phenix Pro Devkit Firmware from github:
git clone https://github.com/RobSenseTech/PhenixPro_Devkit
# 1.2 Install Main Program
First of all, we need to install the latest version(8u121) of Java SE Development Kit( Download here http://www.oracle.com/technetwork/java/javase/downloads/jdk8-downloads-2133151.html (opens new window)), then install it:
cd [your download path]
tar xf jdk-8u121-linux-x64.tar.gz
vim ~/.bashrc
add these statements:
export JAVA_HOME=[your jdk path]
export JRE_HOME=${JAVA_HOME}/jre
export CLASSPATH=.:{JAVA_HOME}/lib:${JRE_HOME}/lib
export PATH=${JAVA_HOME}/bin:$PATH
use this command to make it work:
source ~/.bashrc
to comfirm whether jdk is installed properly, use this command:
java -version
if JDK is installed properly, it will show these information:
java version "1.8.0_121"
Java(TM) SE Runtime Environment (build 1.8.0_121-b13)
Java HotSpot(TM) 64-Bit Server VM (build 25.121-b13, mixed mode)
now, we can install Vivado:
cd [your vivado path]
tar xf Xilinx_Vivado_SDK_2016.4_0124_1.tar.gz
cd Xilinx_Vivado_SDK_2016.4_0124_1
sudo ./xsetup
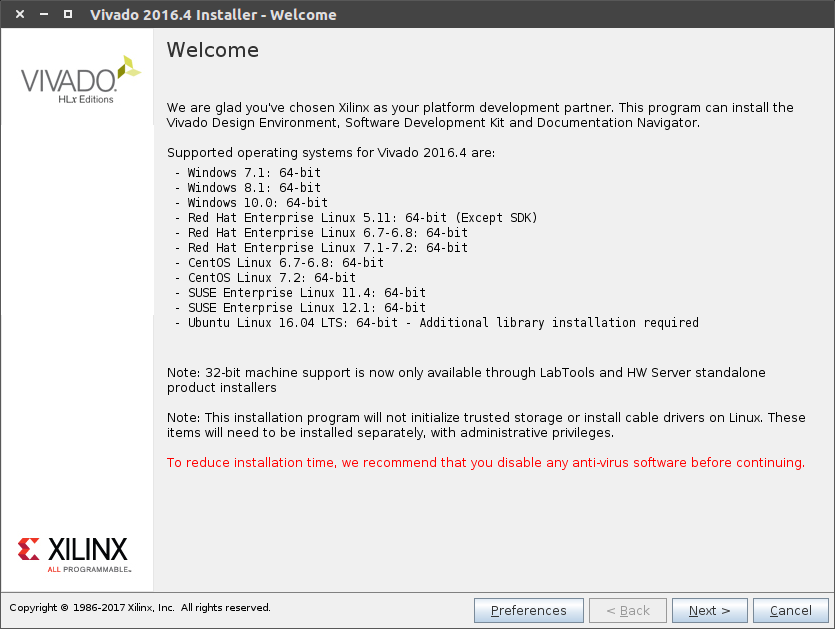
click Next
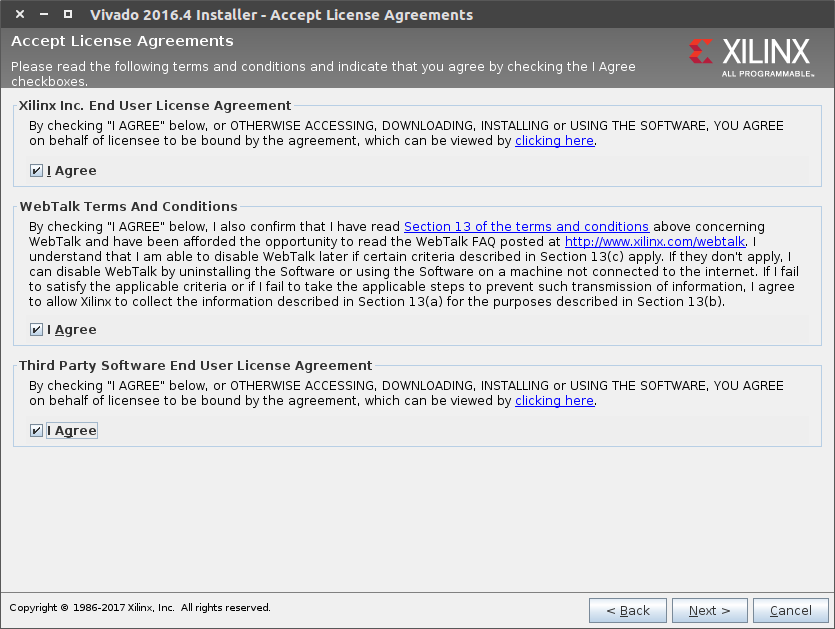
select three "I Agree" and Next
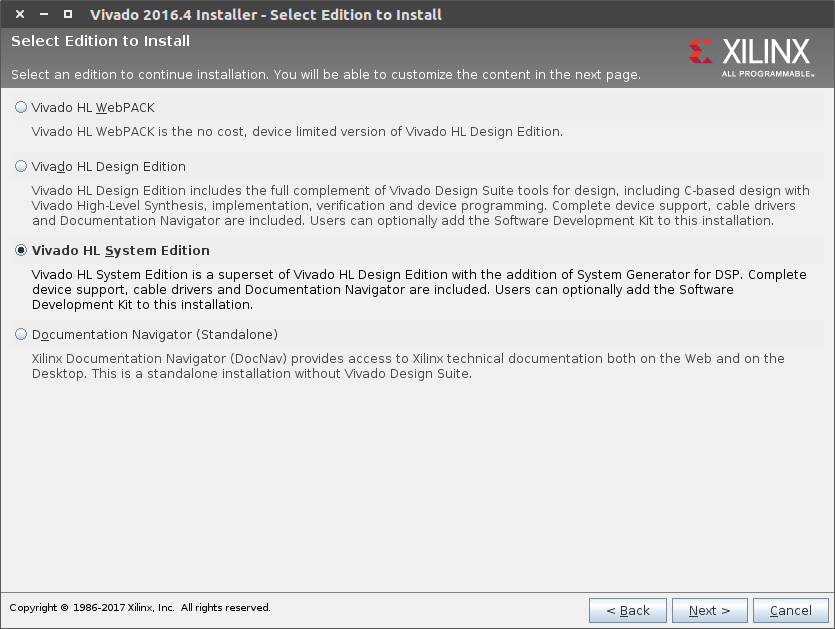
select third one, click Next
select "Software Development Kit (SDK)", click Next

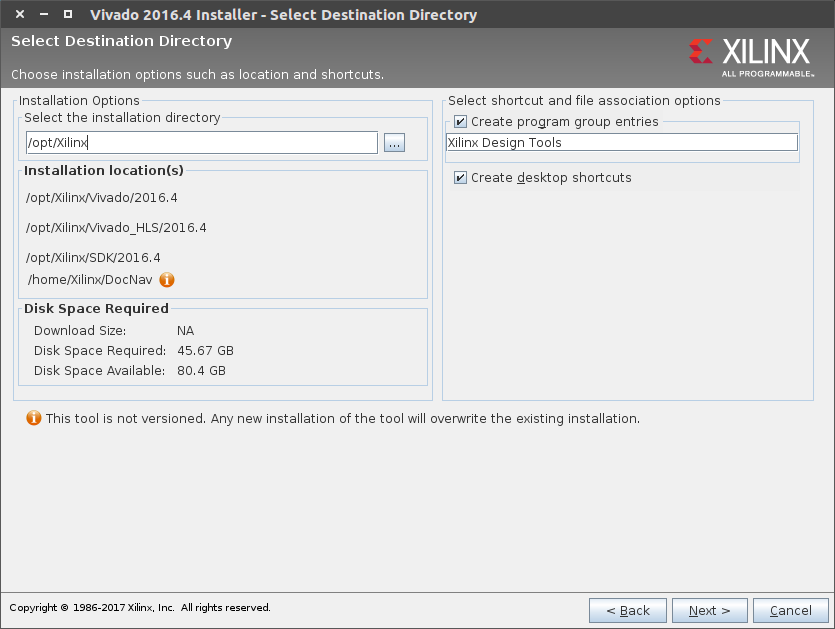
choose installation directory, click Next
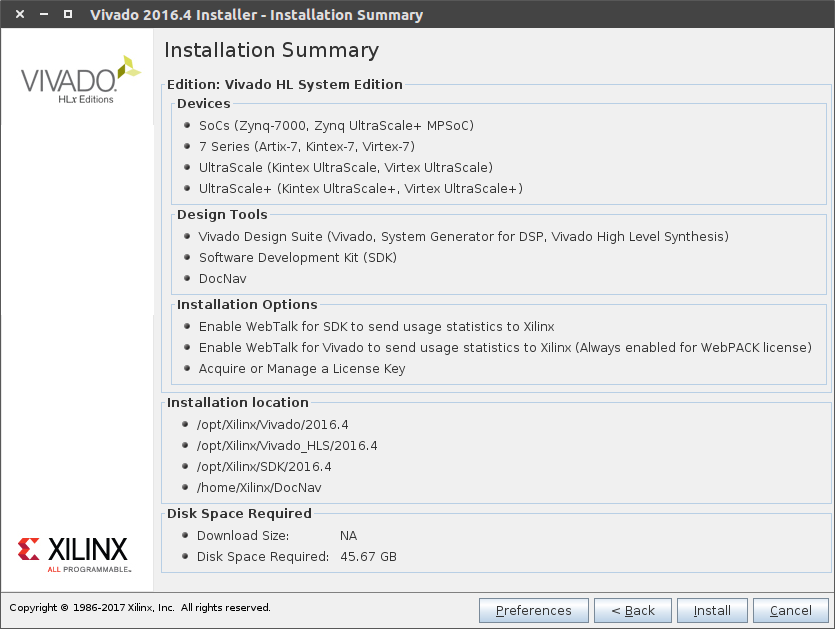
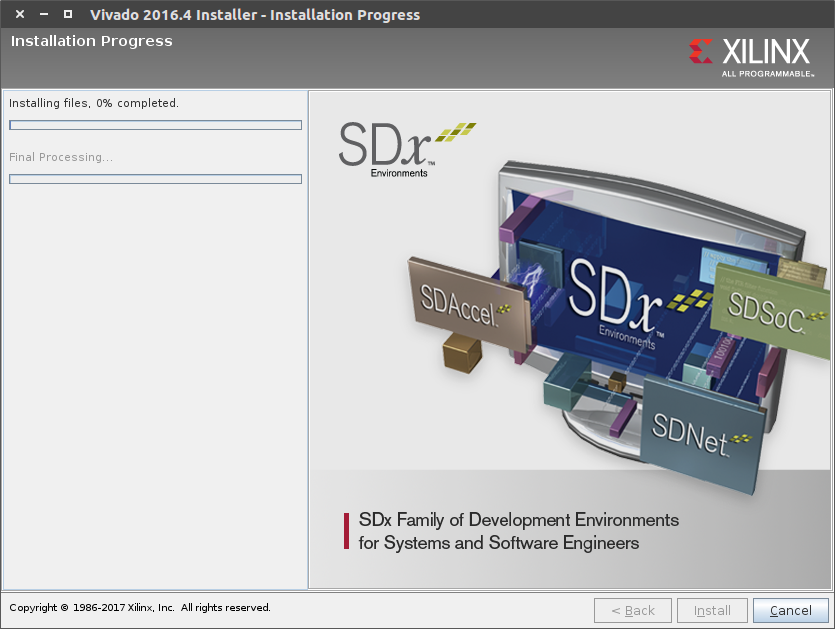
click install
after this, we need to load the license:
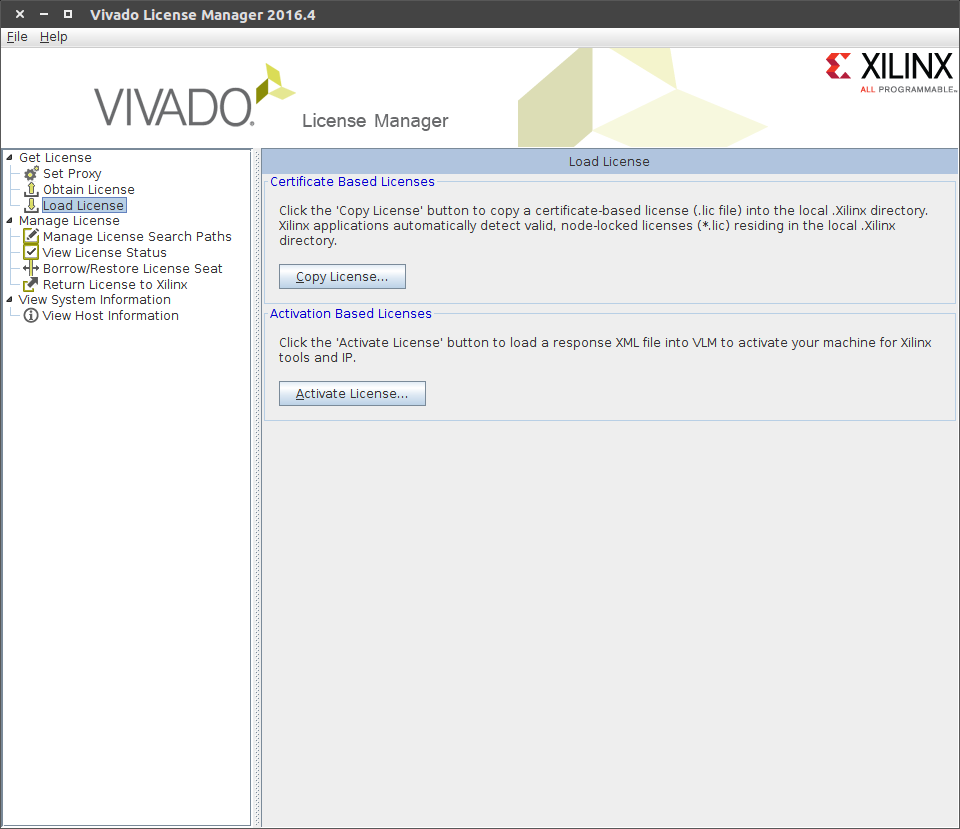
click "Load License" and "Copy License" (You can find lic file in firmware path [phenix_devkit path]/amp_system/)
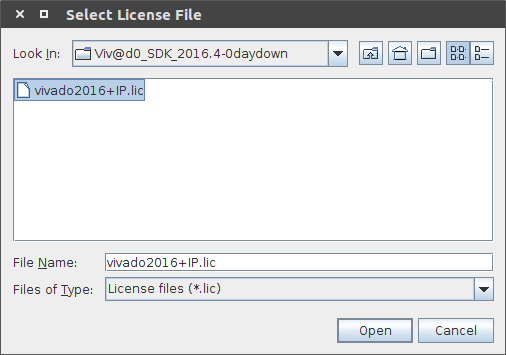
select your license and click open.
the last step, you need to add some enviroment parameter in .bashrc:
source /opt/Xilinx/Vivado/2016.4/settings64.sh
source /opt/Xilinx/SDK/2016.4/settings64.sh
export PATH=$PATH:/opt/Xilinx/SDK/2016.4/bin
# 1.3 Install cable driver
On Windows, Install Cable Drivers is an optional selection in the installer.For Linux, because root or sudo access is required to install drivers, this option has been removed from the Linux installer beginning in Vivado 2015.4. The general Vivado installer can now be run on Linux without root or sudo privileges. To install cable drivers on Linux, there is now a script that must be run as root or sudo post installation.
Script Location: /data/xicom/cable_drivers/lin64/install_script/install_drivers/ Script Name: install_drivers
Reference: ug973-vivado-release-notes-install-license
# 1.4 Add Vivado SDK to Dash
After steps from 1.1 to 1.3, Vivado SDK has been installed successfully, but in x64 ubuntu, we still cannot find vivado in Dash, so we have to add it by ourselves:
For Vivado:
sudo touch /usr/share/applications/vivado.desktop
sudo vim /usr/share/applications/vivado.desktop
add these statement:
[Desktop Entry]
Encoding=UTF-8
Name=Vivado 2016.4
Exec=[Vivado Install Dir]/Vivado/2016.4/bin/vivado
Terminal=false
Type=Application
Icon=[Vivado Install Dir]/Vivado/2016.4/doc/images/vivado_logo.png
StartupNotify=true
Categories=System;
For SDK:
cd [Vivado Install Dir]/SDK/2016.4/eclipse/lnx64.o/
sudo mkdir jre
cd jre
sudo ln -s [your jdk path]/jre/bin
sudo touch /usr/share/applications/xsdk.desktop
sudo vim /usr/share/applications/xsdk.desktop
add these statement:
[Desktop Entry]
Encoding=UTF-8
Name=SDK 2016.4
Exec=xsdk
Terminal=false
Type=Application
Icon=[Vivado Install Dir]/SDK/2016.4/data/sdk/images/sdk_logo.png
StartupNotify=true
Categories=System;
Note:
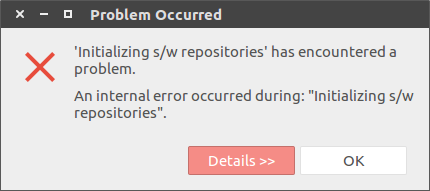
When launch SDK in Dash, it shows this error, it means you have to launch sdk with shell command "xsdk", otherwise, you may find that you can't close SDK:
If you launch SDK in terminal with command "xsdk", and there nothing happens, but shows information as follow:
****** Xilinx Software Development Kit
****** SDK v2016.4 (64-bit)
**** SW Build 1733598 on Wed Dec 14 22:35:42 MST 2016
** Copyright 1986-2016 Xilinx, Inc. All Rights Reserved.
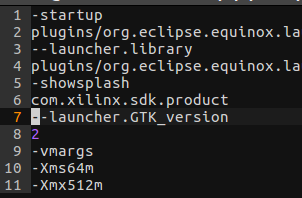
Launching SDK with command /opt/Xilinx/SDK/2016.4/eclipse/lnx64.o/eclipse -vmargs -Xms64m -Xmx512m -Dorg.eclipse.swt.internal.gtk.cairoGraphics=false
then, you need to add these 2 lines to [Vivado Install Dir]/SDK/2016.4/eclipse/lnx64.o/eclipse.ini before statement "-vmargs"
--launcher.GTK_version
2
just like this: