# Become a Developer
# Register a developer account
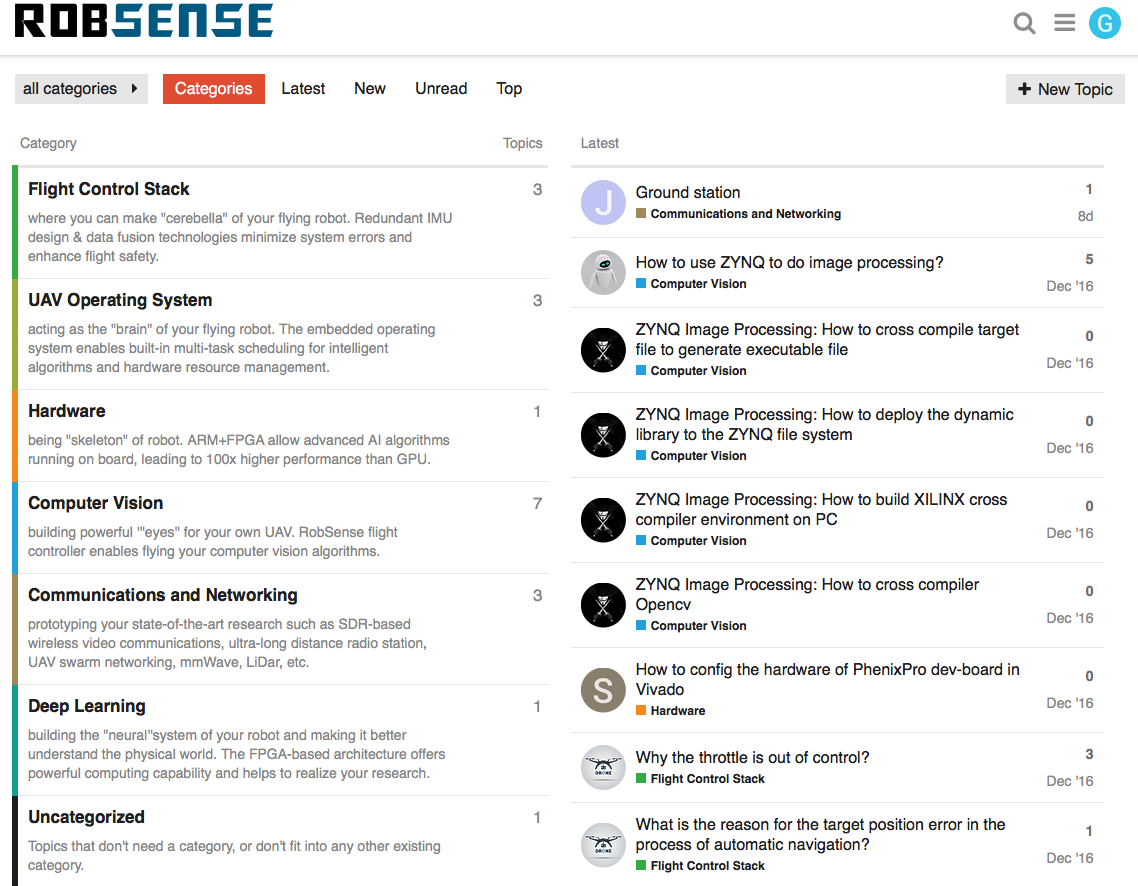
You can log on http://dev.robsense.com (opens new window), and register a developer account in the dev forum, then post your questions. And we also have a Slack (opens new window) workspace for instant discussion among developers**.**

# Subscribe the PhenixPro Beta mailling list
Simply, send you contact details
- Full name
- Email address (it's essential)
- Company/Institute name
- Address
to developers@robsense.com
Once your request been processed, your email will be put onto the mailling list (PhenixPro DevKit Beta).
You will be updated with every single release and you can post your questions on this maillist list in order to get issue solved with helps from the whole dev community.
# How to contribute to the project on GitHub
Before starting to work on your contribution, It’s a good idea to check out existing issues and pull requests to be sure you’re not going to do something which is already being done by someone else.
1.Sign in with your github account and search our project by "RobSenseTech/DevKit-gitbook"
2.Forking the project creates a personal copy which will appear in your GitHub profile. to fork a project on GitHub simply click the Fork button on the top-right corner of a project page.
3.After you forked the project you need to clone it to have a copy on your machine you can work on.
To clone a forked project go to the repositories section of your GitHub profile and open it. There you can click on the “clone or download” button to get the address to clone.
GitHub gives you 2 protocols to clone a project: HTTPS and SSH. For more details about which one to use check out their detailed guide (opens new window) on the topic. From now on let’s assume you decided to use HTTPS.
Once you have copied an URL you can clone the project using a git client or git in your shell:
$ git clone https://github.com/YOUR_USERNAME/PROJECT.git
Cloning a project will create a directory on your disk which contains the project and all the files used by git to keep track of it.
4.Enter the cloned directory and add the URL of the original project to your local repository so that you will be able to pull changes from it:
$ git remote add upstream https://github.com/PROJECT_USERNAME/PROJECT.git
I used upstream as remote repository name because it’s a convention for GitHub projects, but you can use any name you want.
Now listing the remote repositories will show something like:
$ git remote -v
origin https://github.com/YOUR_USERNAME/PROJECT.git (fetch)
origin https://github.com/YOUR_USERNAME/PROJECT.git (push)
upstream https://github.com/PROJECT_USERNAME/PROJECT.git (fetch)
upstream https://github.com/PROJECT_USERNAME/PROJECT.git (push)
5.Before starting to work on your feature or bugfix you need to create a local branch where to keep all your work. You can do that with the following git command:
$ git checkout -b BRANCH_NAME
This will create a new branch and will make it the active one in your local repository. Be sure to use a descriptive name for the branch name.
You can check you are in the right branch using git:
$ git branch
  master
* BRANCH_NAME
The current active branch is the one with a * on the left.
6.Now it’s time to work on the project. It’s very important you keep this very specific and focused on a single feature or bugfix. Trying to squeeze multiple contributions in a single pull request means chaos because it makes it impossible to handle them separately.
While working on your contribution make sure to pull changes from upstream (the original project) frequently or at least before pushing your changes to origin (your fork). That will force you to fix any possible conflict before submitting your pull request to the project.
7.Once you finished to work on your contribution it’s time to push it to your forked repository on GitHub:
first
$ git commit -am "COMMIT INFO"
than
$ git push origin BRANCH_NAME
Now go back to your forked project on GitHub in your browser and you will find a new button at the top of the page to create a pull request:

Click the button and you will get a new page which contains all the information on your pull request and where you can submit it to the original project.
Before finalising the pull request make sure to have checked everything is fine and to include as much information as possible to help the mantainers of the project understand what you have done and why.
8.Some of the project mantainers will check your pull request and will give you feedback or notify you they decided to merge your changes soon. They might also ask you to change something or decide not to use your contribution. Anyway everything will be discussed on GitHub and you will receive notifications via email every time someone comments your pull request.
9.After your contribution has been merged to the main project (or rejected) you can delete the branch you used for it.
To delete the branch in your local repository:
git branch -D BRANCH_NAME
To delete the branch on GitHub:
git push origin --delete BRANCH_NAME