# 1.Build Hardware
This section descript how to build a minimum hardware system, and you will know the basic hardware develop flow of devkit.
There is no need to build the whole devkit hardware system by yourself, Robsense has already built for you, and you can find it at
PhenixPro_Devkit/amp_system/vivado_prj.tar.gz
# 1.1 Install Board Interface File
(Reference: ug895-vivado-system-level-design-entry.pdf Appx.A)
After installing Vivado, the installation directory will contain a folder called board_files. This folder contains XML files for different FPGA boards manufactured by Xilinx.
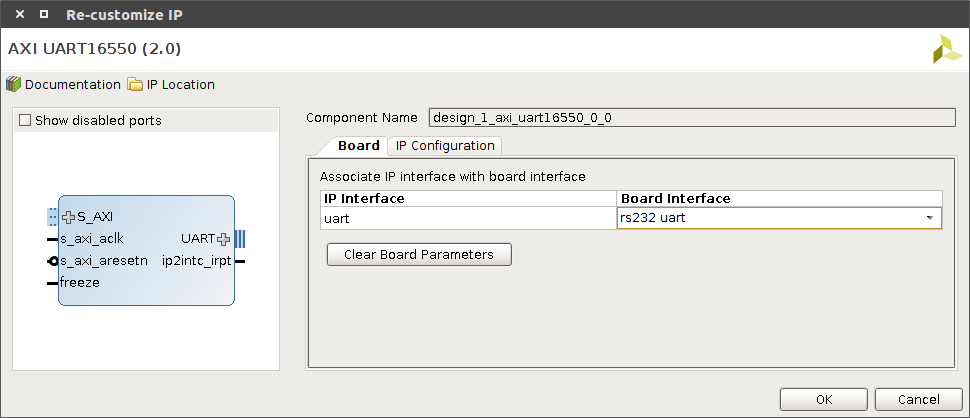
XML files define different interfaces on the board. Interfaces such as UART, DDR Memory, Ethernet etc. For example, we use IP core AXI UART16550, but it has 14pins by default, there are only 2 pins in our devkit for uart, so we have to custom the interface of the IP core through XML. After installing board interface file, we will be able to assign different inerfaces that are available on your selected board to a specific IP block:
Robsense has written these XML files, they are stored in our firmware project, all you need is just get it from github, and copy then into path board_files:
cd [phenix_devkit path]/amp_system/
tar xf vivado_prj.tar.gz
sudo cp vivado_prj/phenix_devkit [Vivado Install Dir]/Vivado/2016.4/data/boards/board_files -r
Note: If you are interested in how to write the XML, you can reference Chapter Appx.A in Xilinx offical document UG895 (https://www.xilinx.com/support/documentation/sw_manuals/xilinx2016_4/ug895-vivado-system-level-design-entry.pdf (opens new window)).
# 1.2 Create Project
(Reference:http://zedboard.org/zh-hant/node/1454 (opens new window))
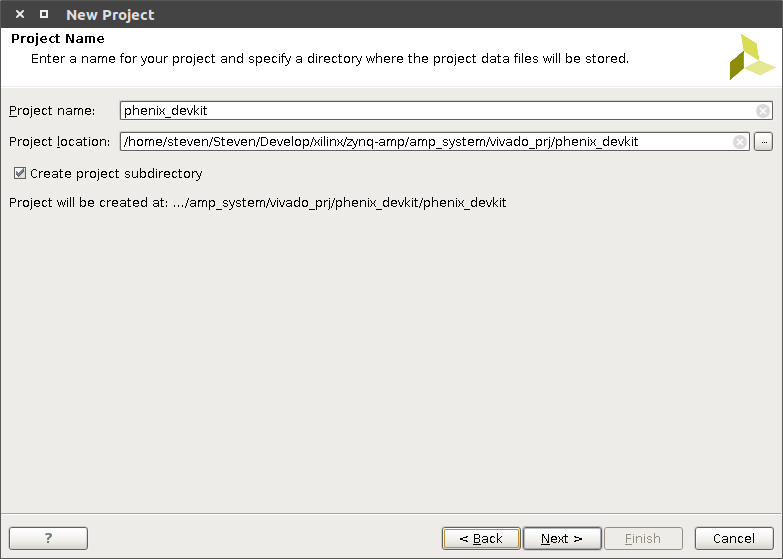
Open Vivadio and click "Create New Project", input project name, and click Next
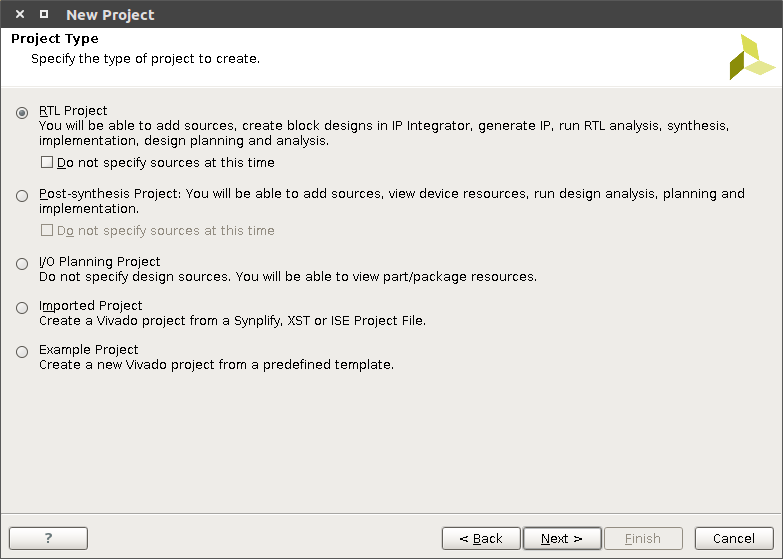
select "RTL Project"
click Next until the UI below
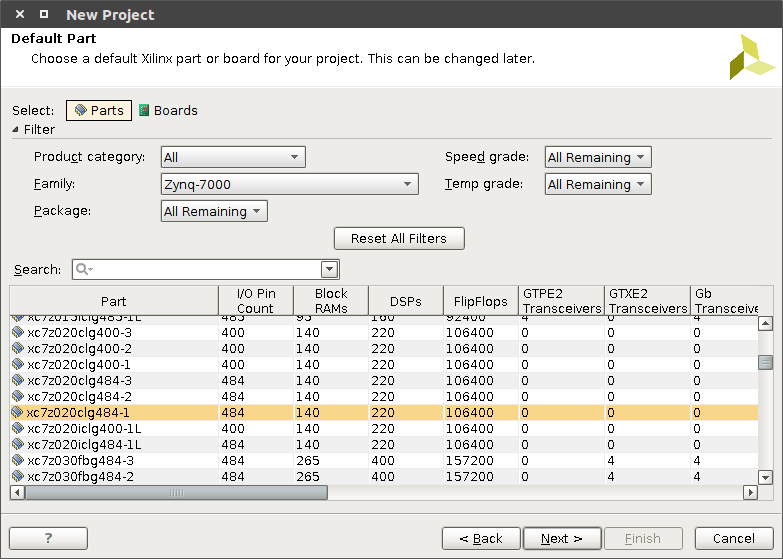
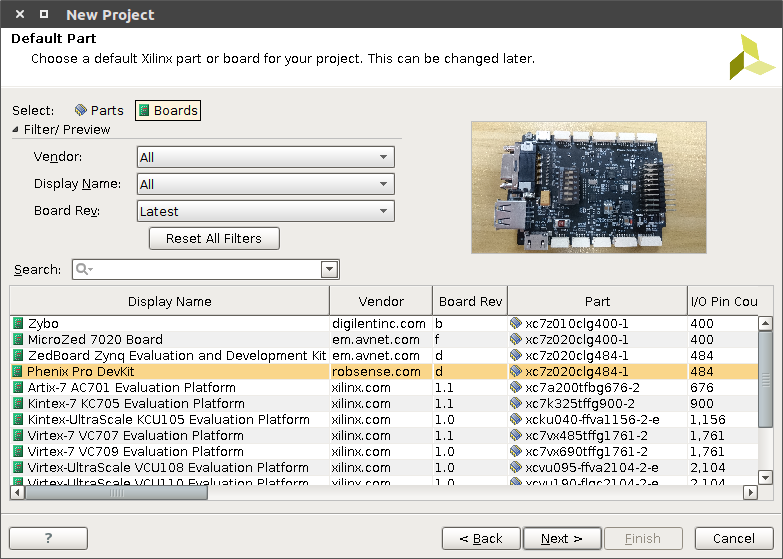
click Boards find Phenix Pro Devkit, click Next and then click finish:
Note: If you can't find Phenix Pro Devkit, please make sure that you installed board interface files right in section 2.1
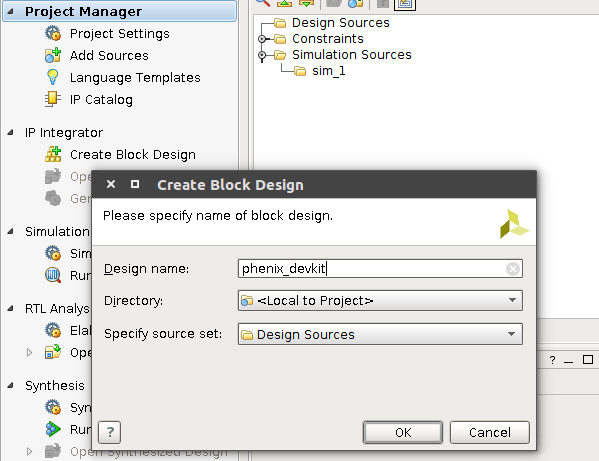
click "Create Block Design", input design name, and click "OK"
# 1.3 Create Minimum System Design
Now we have a empty design, let's add IP to it
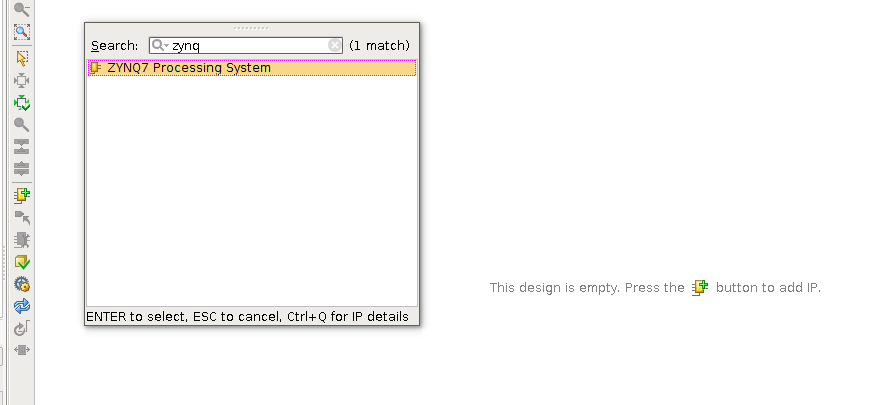
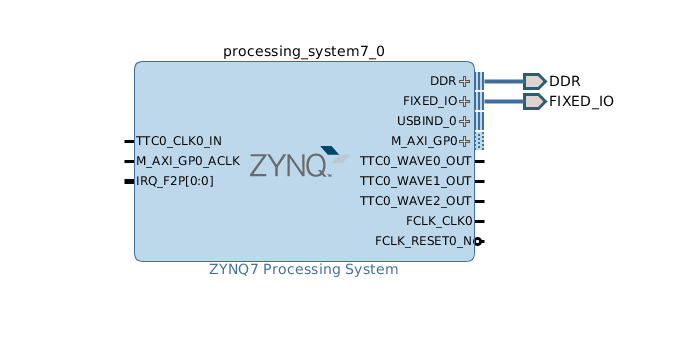
click  and input zynq to search "ZYNQ Processing System", double click to add it to our design, and click Run Block Automation, Vivado will configure PS core with board interface files which we installed int 2.1
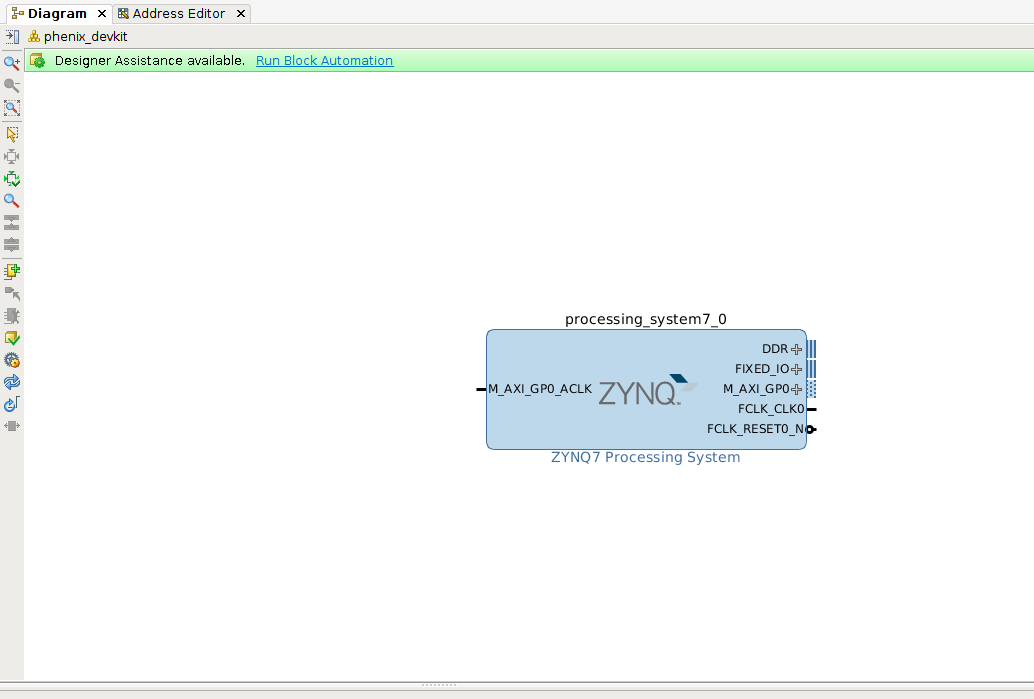
now, the PS core should be like this :
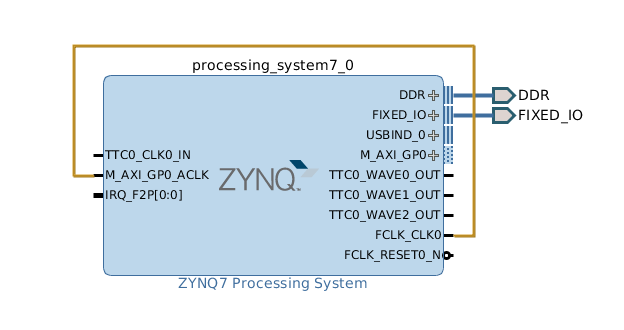
connect an input signal for AXI, like the image below:
Now, we've created our PS within the IPI block, next, we need to create an HDL wrapper for the Vivado synthesizer knows what to do with our IP block
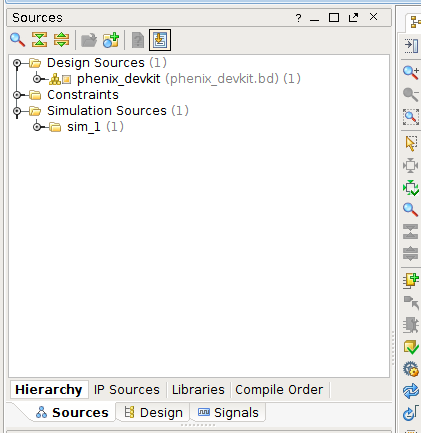
right mouse click  and select "Create HDL Wrapper",This will generate a HDL wrapper that the Vivado synthesizer understands. Once this happens, we are ready to generate our bitfile. This might sound like a large jump, but there isn't anything else in our design - it's almost entirely PS (the only PL portion is that AXI
port support logic).
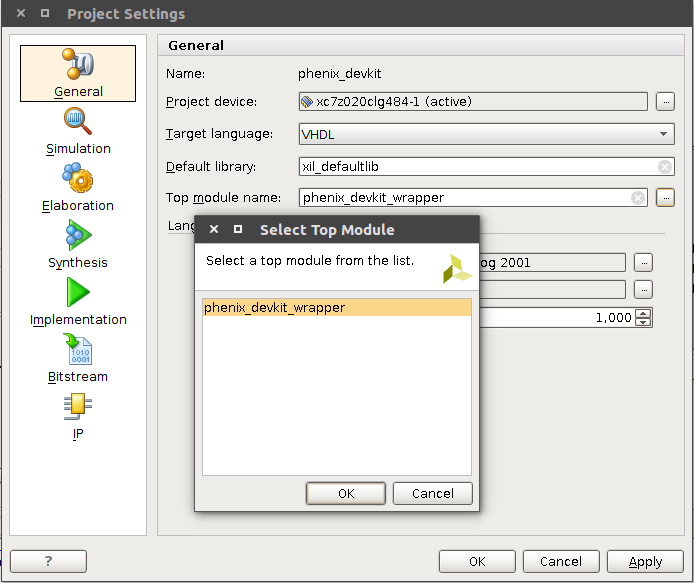
next, we need to set "Top moudule name", click "Synthesis Settings" and "..."button, select phenix_devkit_wrapper:
At last, click "Run Synthesis", "Run Implementation" and "Generate Bitstream" to generate PL program
# 1.4 Export hdf(hardware definition file) file
If we want to develop on PS with Xilinx SDK, we need to tell SDK how our hardware looks like, which is the usage of the hdf file. Exporting hdf file is quite simple, just click File->Export->Export Hardware, and choose the path you want to store the hdf file(don't forget include bitstream file):

now, we can launch SDK to generate uboot.bin.